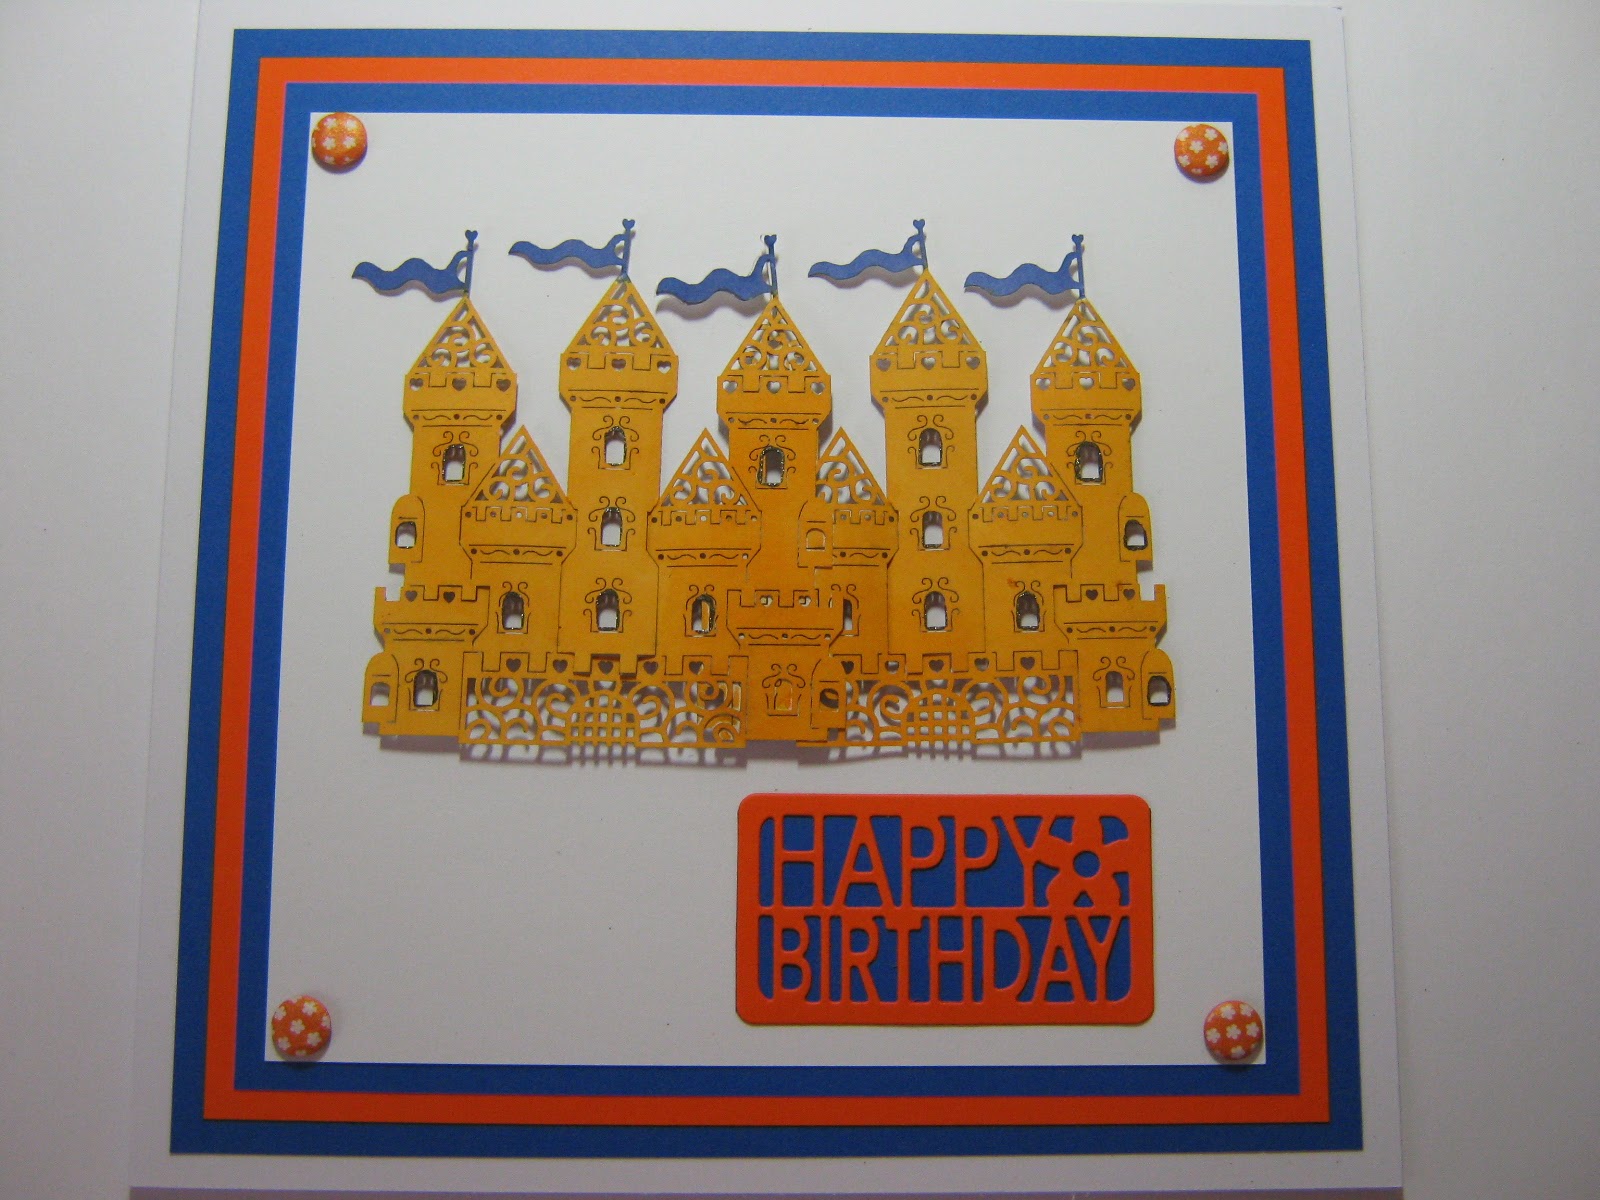
I was privileged to be involved in making a few samples for the TV launch of the Tattered Lace Elegance Collection as part of the first anniversary of this fabulous collection of dies.
These were aired on TV on Create and Craft on Friday 21st March 2014 as the Pick of the Week but as usual they proved to be very popular and rapidly sold out within just a few shows.
I am sure the whole collection will be available soon on www.crafting.co.uk
Thanks for looking.
Crafty Lin's Space
My little spot in cyber space to laugh - live and dream of crafting - and to share with friends...
Sunday, 23 March 2014
Sunday, 23 February 2014
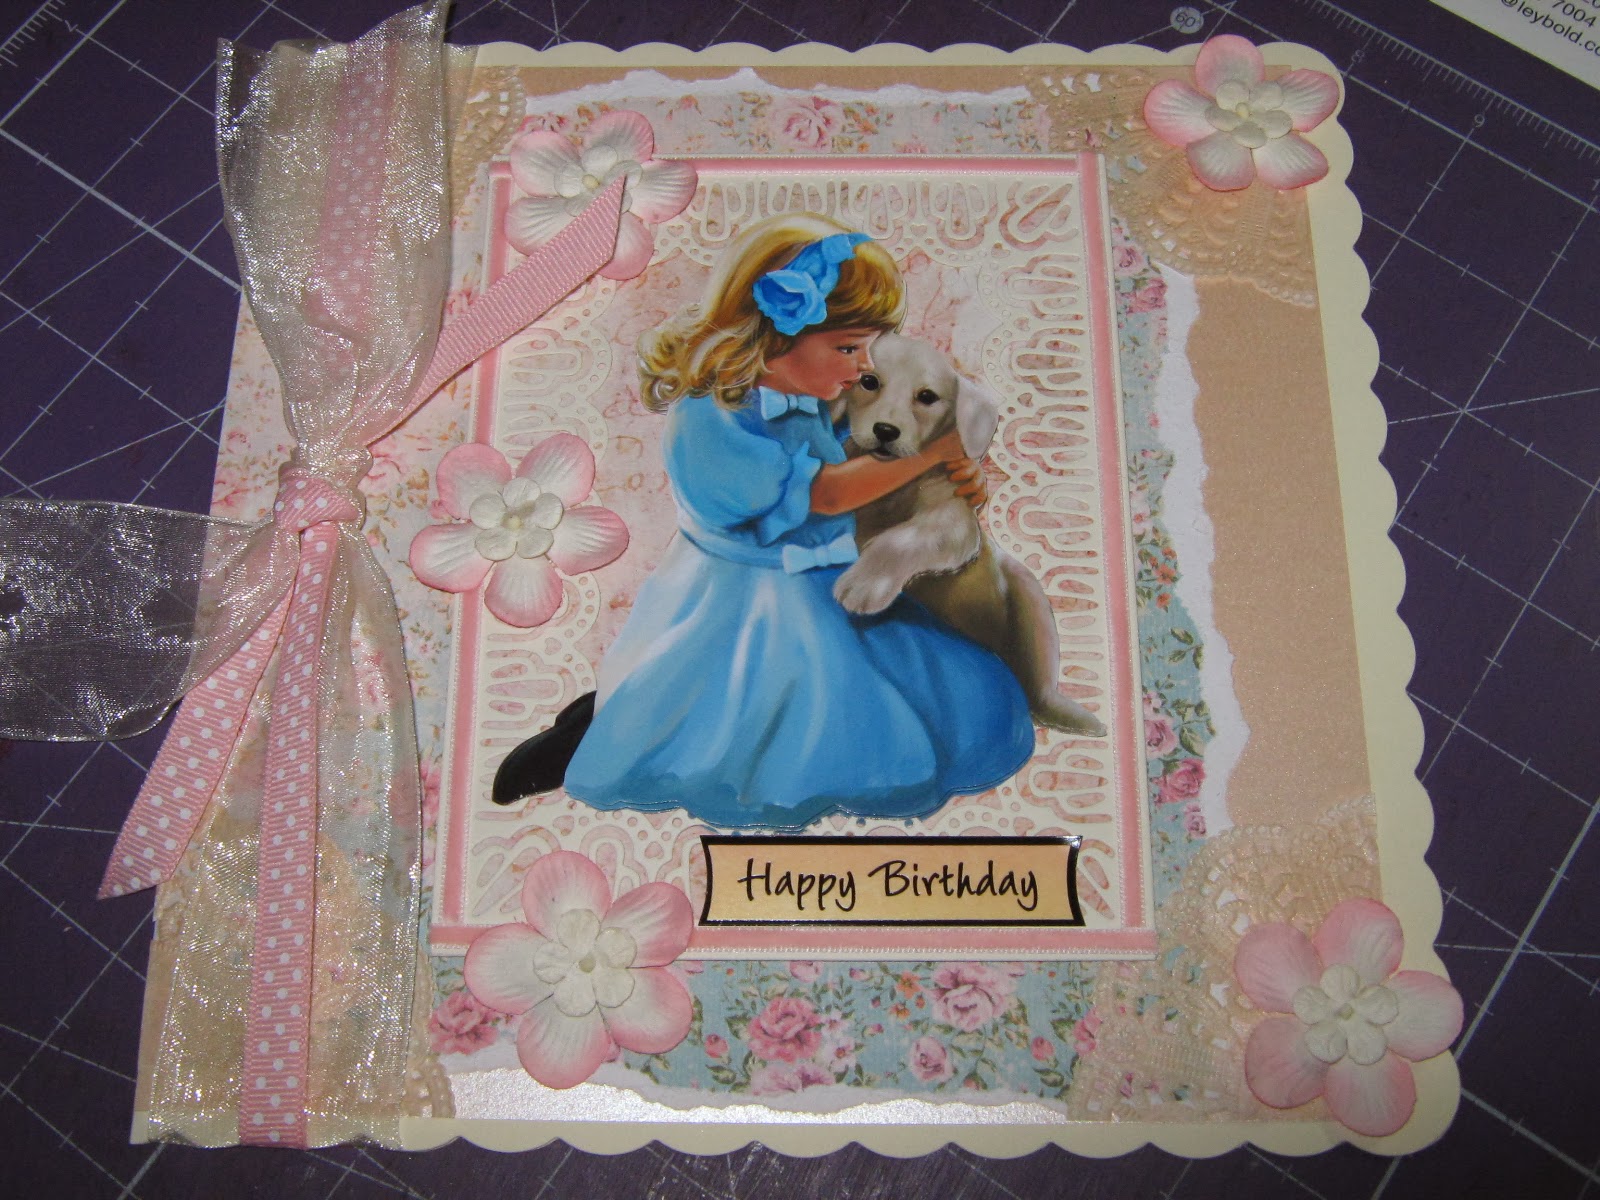
TV Samples for Create and Craft - My Craft Studio Shabby Sweet CD February 2014
These are the samples I made for the tv shows over the weekend of 15th and 16th February 2014. This is a really sweet set of CDs with specially commissioned artwork of cute children and animals and beautiful shabby style papers - I really loved creating samples for this.
Thanks for looking - I am working on more exciting things as we speak...
Thanks for looking - I am working on more exciting things as we speak...
Wednesday, 21 August 2013
La Pashe - New CD - Something For Everyone
Another of my favourite companies - La Pashe produce quirky hand drawn artwork with comic style characters and this new CD is lovely...there are lots of trades on this new CD - from the Policeman to the Army to the Teacher and lots of situations suitable for everyone.
I was asked to make a card that had to have the legend - Shop till you Drop and lots of shoes so this decoupage set from the CD is just perfect.
To achieve a real depth on the card when I print out the decoupage I always print it twice - once on a matt paper and once on a glossy photo paper. The base layer is the matt paper and I add the decoupage - in this case the shoes and they really leap off the card - there that's my top tip for today. Keep all the spare bits not used on this card as they will be enough to make another card....waste not want not...
Thanks for stopping by.
Linda....xx
Monday, 19 August 2013
TV Samples for Create and Craft
I am very lucky to be on the Design Team for My Craft Studio and as a result I am kept very busy making samples using their fabulous range of CDs and I also am regularly asked to make samples with the Tattered Lace brand too.
Wishes and Whispers launched on Friday 16th August on Create and Craft TV - using hand drawn and painted fairy imaged by the renowned illustrator Lisa Fox.
These images are childlike sweet fairies which remind you of your childhood... as always a real pleasure to create samples with.
Thanks for looking.
Linda.....xx
Friday, 16 August 2013
Kraftyhands CD Crafting - The Golden Age of Steam
Busy day again - I decided to make a batch of A5 cards for men this morning and selected the Kraftyhands CD - The Golden Age of Steam - a delightful CD full of photographic material and backing papers all things train related.... a must for any mens cards.
I sell so many cards with Steam Trains on so when I spotted this CD at the Hobbycraft show in March on the Kraftyhands stand I could not resist buying it.
Each train is quite heavily decoupaged which is not clear from the photo.
I do have quite a few Kraftyhands CDs and eagerly await each new launch.
Thanks for looking.
Linda.....xx
Wednesday, 14 August 2013
Inspired by Craftwork Cards
I love card candi and I was inspired to create this simple Birthday card using them after watching the return of Julie Hickey and the company Craftwork Cards to Create and Craft tv this afternoon.
I used some Hunkydory cardstock to create a card blank 5" x 7" and using my Cricut machine cut out the numbers 2 and 1. These were stuck to the card to use as a template to add the card candi. I find this much easier than trying to free hand the placement of these little things.
Cover the numbers with card candi using standard 2mm foam pads - no need to buy any special foam pads for this job.
Makes a very striking card I think.
Thanks for stopping by.
Linda..xx
Tuesday, 13 August 2013
A day of Christenings
Sometimes the phone rings and I am asked for commissions which I am more than happy to do - this week strangely I have been asked for four Christening cards which is most unusual - must be the season..!!
I do struggle with all things baby and especially Christenings - maybe for me it's because I just cannot find decent artwork to use - it's either clip art in style or photographic - neither of which appeals to my customers - so there is a definite gap in the market for superb baby themed source material.
I have added three photographs below together with a brief recipe for each - feel free to use the design as a whole or in part within your project...I am more than happy to share - just please do not claim my photographs as your own work.
Thanks for visiting - come back soon for lots more.
The fairies are coming!!!
This card is made by embossing Crafters Companion Centura Pearl cardstock in an A4 embossing folder by the same company. Affix patterned pink backing paper to an A5 card blank and attach the embossed card. Add a couple of peel off corners to the top as shown. The topper and sentiment and ribbon strip are from a Kanban set - sadly this company are no longer with us.
The Cross is set onto a couple of Spellbinder die cut circles using foam pads for dimension - add a little bit of ribbon before sticking to the card blank.
I used a Tonic punch from one of the Petal Pair sets to cut some small pink flowers which I have glued on with a Quickie glue pen - it helps to break up the expanse of white card.
This is a specific commission as it has the name of the Baby added - I used a sheet of backing paper from a Forever Friends free set of papers from a magazine - the brief was Yellow and lots of it. The largest Lattice Frame is a Marianne die and one of my favourites - topped with two Spellbinder Labels 6. The topper is made from a My Craft Studio image with text added.
The 'Congratulations' wording is a Brittania die - the baby's name is cut from a Memory box die - the large upper case Parker Alphabet - again one of my favourites as it cuts so well.
I added a gem to the centre of the cross and finished off the card with two lengths of ribbon tied around the spine of the card - the ribbon is in two different widths so it looks layered and really pretty.
A stamped card to finish - I used an A5 white card blank and added a sheet of backing paper again from a set of freebie Forever Friend papers. To that I added a sheet of white card embossed in an A4 folder from Crafter's Companion. I added large peel off corners as shown. I cut a ribbon strip using a Martha Stewart border punch and decorate it with glitter peel offs. The wording is from a very old Kanban paper kit.
The stamp is a really pretty Lily of the Valley rubber stamp which I just highlighted with a Sakura pink glaze pen - this topper is mounted onto two Spellbinder circles - one plain and one scalloped.
Lastly I added a ribbon bow to finish.
I do struggle with all things baby and especially Christenings - maybe for me it's because I just cannot find decent artwork to use - it's either clip art in style or photographic - neither of which appeals to my customers - so there is a definite gap in the market for superb baby themed source material.
I have added three photographs below together with a brief recipe for each - feel free to use the design as a whole or in part within your project...I am more than happy to share - just please do not claim my photographs as your own work.
Thanks for visiting - come back soon for lots more.
The fairies are coming!!!
 |
The Cross is set onto a couple of Spellbinder die cut circles using foam pads for dimension - add a little bit of ribbon before sticking to the card blank.
I used a Tonic punch from one of the Petal Pair sets to cut some small pink flowers which I have glued on with a Quickie glue pen - it helps to break up the expanse of white card.
This is a specific commission as it has the name of the Baby added - I used a sheet of backing paper from a Forever Friends free set of papers from a magazine - the brief was Yellow and lots of it. The largest Lattice Frame is a Marianne die and one of my favourites - topped with two Spellbinder Labels 6. The topper is made from a My Craft Studio image with text added.
The 'Congratulations' wording is a Brittania die - the baby's name is cut from a Memory box die - the large upper case Parker Alphabet - again one of my favourites as it cuts so well.
I added a gem to the centre of the cross and finished off the card with two lengths of ribbon tied around the spine of the card - the ribbon is in two different widths so it looks layered and really pretty.
A stamped card to finish - I used an A5 white card blank and added a sheet of backing paper again from a set of freebie Forever Friend papers. To that I added a sheet of white card embossed in an A4 folder from Crafter's Companion. I added large peel off corners as shown. I cut a ribbon strip using a Martha Stewart border punch and decorate it with glitter peel offs. The wording is from a very old Kanban paper kit.
The stamp is a really pretty Lily of the Valley rubber stamp which I just highlighted with a Sakura pink glaze pen - this topper is mounted onto two Spellbinder circles - one plain and one scalloped.
Lastly I added a ribbon bow to finish.
Subscribe to:
Posts (Atom)


